1. Attach the external hard drive to your computer.
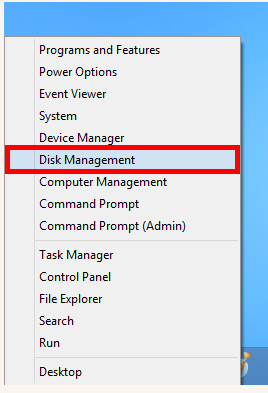
2. Open Disk Management. In Windows 8 this can be achieved by moving the mouse to the bottom-left corner of the Desktop and right-clicking on top of the Start menu screen.
3. From the menu, click on Disk Management.
4.Disk Management will display the various disks that are available in that system. Locate the desired drive by looking at the drive information and drive size. When ready, right-click on top of the drive that is to be re-partitioned and reformatted, and click on New Simple Volume….
5.The New Simple Volume Wizard will appear. Click on Next
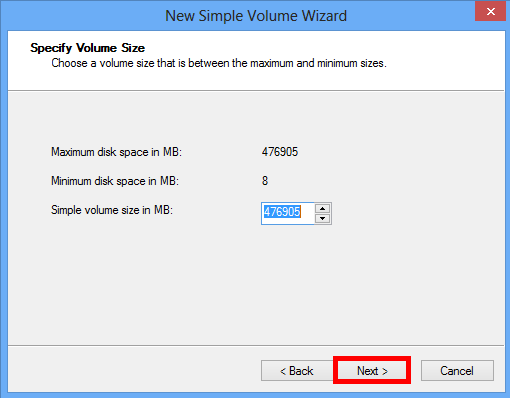
6. Leave the size of the volume to be the maximum disk space so it has only one volume. Click on Next.
7. Assign a drive letter for the drive to have once the process is at an end. Windows will automatically assign one, but this may be changed if so desired. When ready, click on Next.
8. In the Format Partition section, select the File System to be exFAT and change the Volume Label to a desired name for the drive. Make sure the Perform a quick format check-box is highlighted, and when ready click on Next.
9. The Wizard will display a summary of the selected settings for review. It is important to know that formatting and partitioning the drive will erase all data that is on the drive. If there’s no needed information within the drive, then click on Partition. If there is data on the drive that is needed or is not backed up, it will need to be copied to another location before proceeding. If ready, click on Finish.
10. The drive will indicate that it’s Formatting for a few seconds, and once done, it will display as a Healthy (Primary Partition), and the drive will be available in the Computer area of Windows under the assigned drive letter.